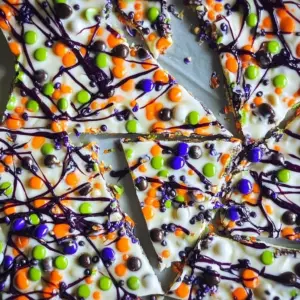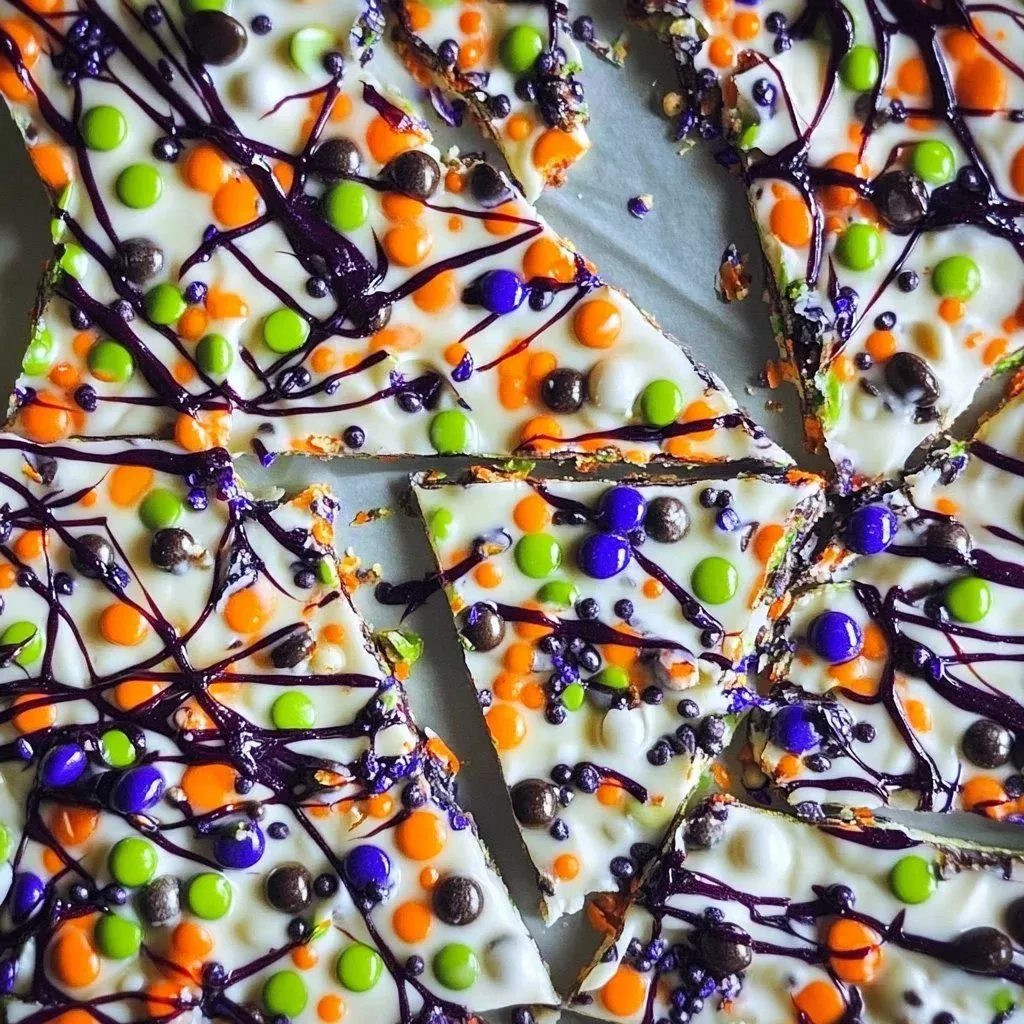
Halloween Candy Bark is a delightful treat that captures the essence of the spooky season in every bite. Tailored for both busy kitchens and family fun, this simple recipe is a festive way to indulge in your sweet tooth while creating memories with loved ones. The combination of creamy white chocolate and vibrant colors makes this candy bark not just a snack, but a visual feast that brings joy to both kids and adults. Whether you’re hosting a Halloween party, crafting thoughtful treats for neighbors, or simply looking to enjoy some seasonal sweetness, this step-by-step guide will help you whip up this crowd-pleaser in no time.
Ingredients
To create your delicious Halloween Candy Bark, gather the following vibrant and appealing ingredients:
- 2 cups of white chocolate, chopped into rich, creamy pieces that melt in your mouth.
- 15 drops of Flo-Coat Candy Coating to give your bark a glossy finish that elevates its appeal.
- 1 drop of purple food coloring for a spooky twist.
- 1 drop of green food coloring for that eerie, festive greenness.
- 1 drop of orange food coloring to capture the spirit of Halloween with a warm hue.
- 2 tablespoons of large Halloween colored nonpareils that add a fun, crunchy texture.
- 1 tablespoon of Halloween colored sprinkles, perfect for a festive flair.
Cooking Time & Tips For Halloween Candy Bark
When it comes to preparing Halloween Candy Bark, the process can either be quick or slow, depending on your preference. Quick preparation allows for immediate enjoyment and is ideal when time is of the essence, especially around busy holidays. On the other hand, a slower approach can be interspersed with chats and laughs, making it a fun family activity.
For the best results, make sure to use high-quality white chocolate, as this will significantly impact the final taste. Additionally, keep your workspace clean and organized to help streamline the process. Remember to keep your chocolate warm and avoid even a splash of water getting in, as it can cause your chocolate to seize up.
Step-by-Step Directions
-
Begin by melting the chocolate. Place chopped white chocolate in a heat-proof bowl over a pot of simmering water. Stir gently until the chocolate is smooth and luscious.
-
Once your chocolate is melted to perfection, divide it into three separate bowls. Add Flo-Coat and one drop of each food coloring (purple, green, orange) to the respective bowls. Stir each until the colors are vibrant and uniform.
-
Next, take a baking sheet and line it with parchment paper. Spread the remaining melted white chocolate onto this sheet, creating a smooth, even layer.
-
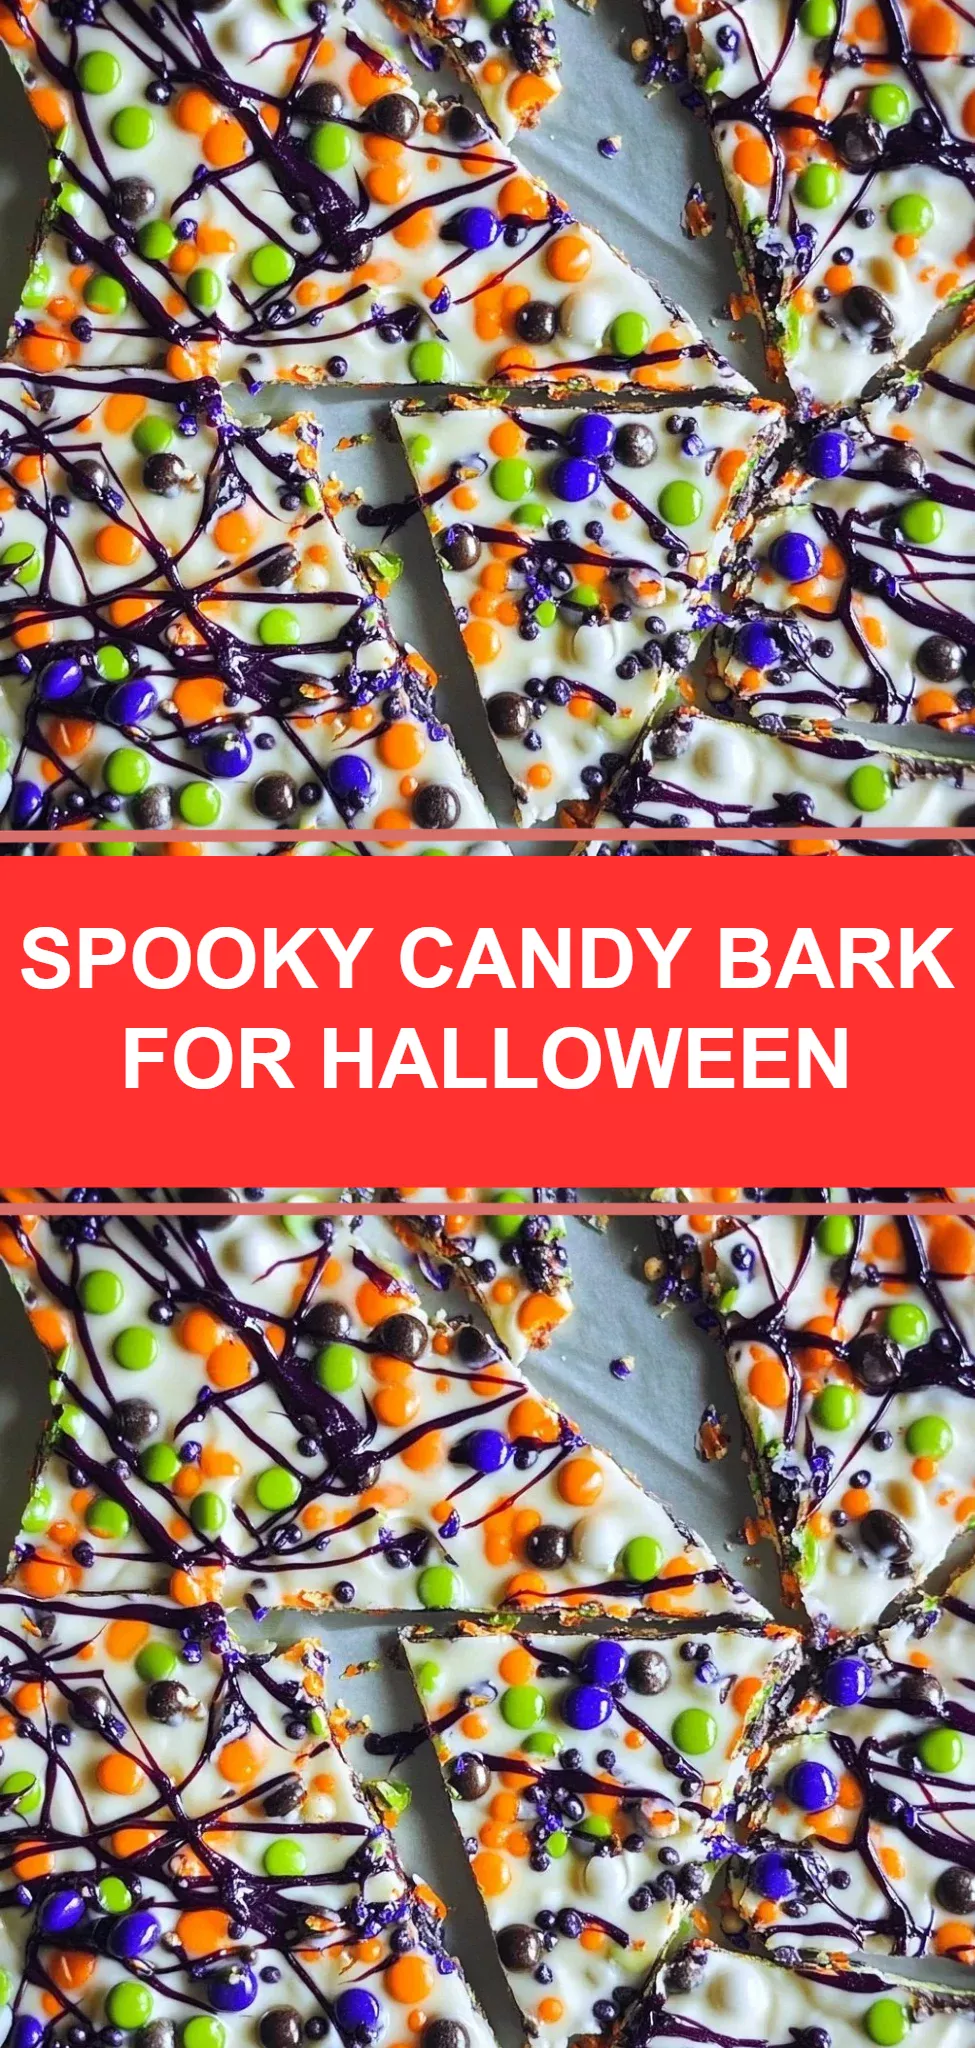
Now, it’s time to get creative! Drizzle the colored chocolate over the white layer in a playful pattern. Give it a swirl with a toothpick to create beautiful marbled designs.
-
Sprinkle the vibrant nonpareils and sprinkles generously over the top to add an eye-catching texture and festive flair.
-
Place your magnificent creation in the refrigerator for about 20 minutes, allowing it to chill and set properly.
-
Once firm, break the bark into large, appealing pieces, and serve them on a fun platter or in treat bags for a festive presentation.
Serving Suggestions & Occasions
Halloween Candy Bark is perfect for multiple occasions. Whether serving it at a Halloween party, as a treat for your children after school, or during a cozy fall movie night, this candy bark never fails to impress. Pair it with apple cider for a delightful autumn treat or present it in themed bags for friendly neighbors and trick-or-treaters. Its visual appeal makes it a lovely centerpiece for dessert tables.
Common Mistakes For Halloween Candy Bark
One common mistake is overheating the chocolate during the melting process, which can create a grainy texture. To avoid this, stick to low heat and stay patient. Another pitfall is skipping the cooling step, which leads to messy handling and unappealing presentation. Be sure to let the bark cool completely before breaking it into pieces. Lastly, ensure that all bowls and utensils are properly dry, as even a drop of water can cause chocolate to seize.
Healthier Alternatives & Variations
For those looking for a healthier twist, consider using dark chocolate instead of white. Dark chocolate provides a rich flavor and can be a bit healthier. You could also incorporate nuts or dried fruits like cranberries, apricots, or almonds for added texture. For a more festive theme, use themed sprinkles, or add seasonal candies like mini pumpkin candies or even edible glitter for a sparkly effect.
FAQs
-
Can I use chocolate chips instead of chopped chocolate?
Yes, but you may need to adjust the melting method slightly, as chocolate chips often contain stabilizers that can affect melting. -
How long will Halloween Candy Bark last?
When stored in an airtight container, your candy bark can last up to two weeks at room temperature. -
Can I use other colors besides purple, green, and orange?
Absolutely! Feel free to use any colors that fit your theme; pastel colors or even deep reds can be fun choices. -
What if I don’t have Flo-Coat?
You can substitute with vegetable oil or coconut oil, but it may alter the texture slightly. -
Is this recipe nut-free?
Yes, the base recipe is nut-free, but always check your toppings to ensure they are nut-free if allergies are a concern. -
Can this candy bark be made in advance?
Yes! It can be made a few days in advance and stored properly until you’re ready to serve.
Conclusion
Halloween Candy Bark is such an easy and delightful treat to prepare that you won’t want to miss out! With its colorful appearance and delicious flavors, it’s guaranteed to bring joy and excitement to any Halloween gathering. So gather your ingredients, don your apron, and let’s get magic happening in the kitchen! You won’t regret trying this fun, festive, and simple candy bark recipe today!