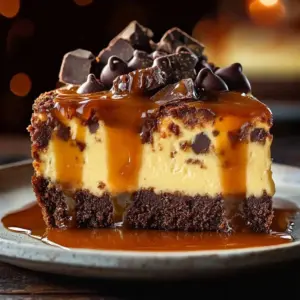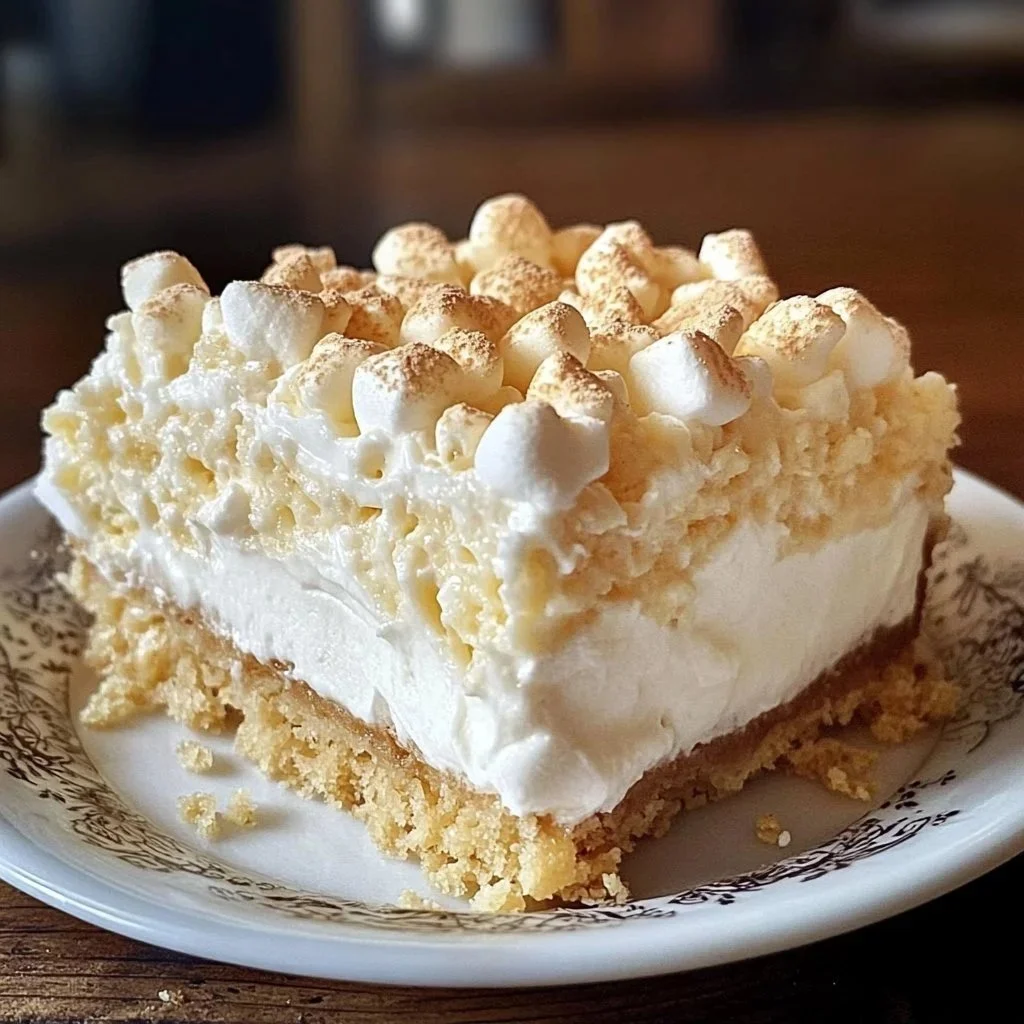
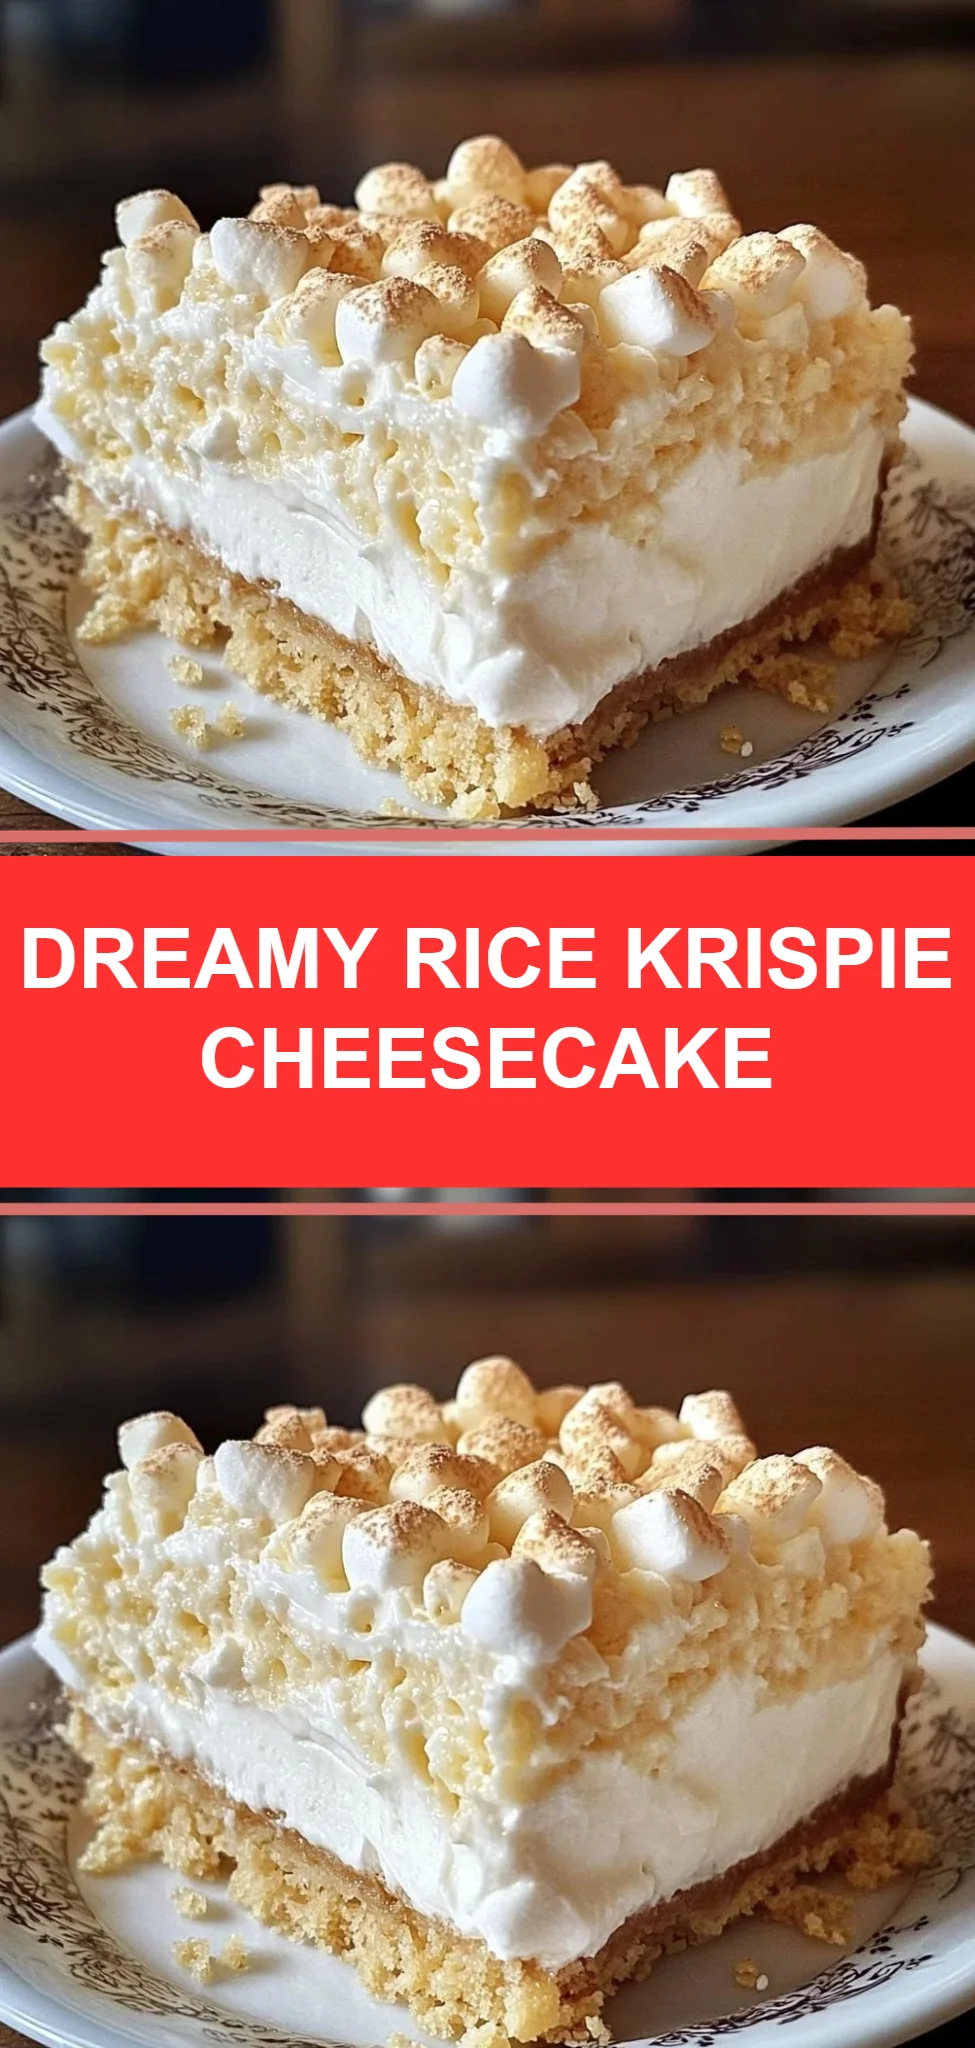
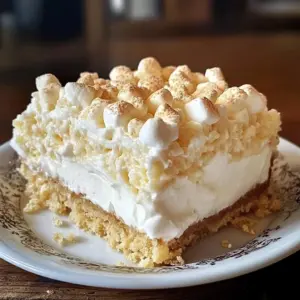
Rice Krispie Treat Cheesecake is the ultimate blend of nostalgia and sophistication. Imagine biting into a rich, creamy cheesecake layered atop a sweet, gooey Rice Krispie treat crust, complete with a sprinkle of mini marshmallows and a drizzle of decadent chocolate. This delightful dessert not only brings back childhood memories but also makes for a comforting treat that the whole family will enjoy. Whether for a special occasion or simply to satisfy a sweet craving, this recipe is easy to follow and promises satisfaction with every bite. Let’s dive into this step-by-step journey to create a dreamy dessert delight.
Ingredients
To create this luxurious Rice Krispie Treat Cheesecake, gather the following ingredients:
- 3 cups Rice Krispies cereal: Crunchy and light, providing the perfect base.
- 1/4 cup unsalted butter: Rich and buttery, melting to create a delectable crust.
- 1/3 cup marshmallow fluff: Sweet and sticky to enhance that classic Rice Krispie flavor.
- 16 oz cream cheese, softened: Smooth and creamy for a luscious cheesecake filling.
- 1/2 cup granulated sugar: Sweetening the cheesecake to perfection.
- 1 teaspoon vanilla extract: Aromatic and warm, adding depth to the flavor.
- 2 large eggs: Binding the ingredients for that perfect texture.
- 1/2 cup sour cream: Adding tanginess and richness to the cheesecake.
- 1 cup mini marshmallows: Soft and chewy, providing bursts of sweetness.
- 1/2 cup Rice Krispies cereal (for topping): A crunchy element, adding texture.
- 1/4 cup melted chocolate (for drizzling): Rich and indulgent, tying it all together.
Cooking Time & Tips for Rice Krispie Treat Cheesecake
Preparing Rice Krispie Treat Cheesecake can be quick or leisurely, depending on your style. The quick approach involves making it in one go, while taking your time allows flavors to meld wonderfully. Regardless of your method, here are some practical tips for success:
- Pre-Cook Prep: Gather all ingredients and tools to streamline your process.
- Cream Cheese Softening: Ensure your cream cheese is at room temperature for smooth mixing.
- Cooling Time: Give the cheesecake ample time to cool and set in the refrigerator for the best texture.
- Decorative Finish: Be generous with the mini marshmallows and chocolate drizzle for an eye-catching presentation.
Step-by-Step Directions
-
In a medium saucepan over low heat, melt the unsalted butter. Stir in the marshmallow fluff until smooth and glossy. Once combined, remove from heat and gently mix in the Rice Krispies until fully coated. Press this mixture firmly into the bottom of a greased 9-inch springform pan, creating an even crust. Allow it to cool slightly while you prepare the filling.
-
In a large mixing bowl, beat the softened cream cheese until creamy and smooth. Gradually add the granulated sugar and vanilla extract, continuing to beat until well combined. Next, add the eggs, one at a time, mixing thoroughly after each addition to ensure a silky texture. Finally, fold in the sour cream gently to maintain that light fluffiness.
-
Pour the creamy cheesecake filling over the prepared Rice Krispie crust, spreading it evenly for a uniform bake.
-
Preheat your oven to 325°F (165°C). Once heated, place your springform pan in the oven and bake for 45-50 minutes. The cheesecake should be set around the edges but still slightly jiggly in the center, hinting at its creamy interior. Once done, turn off the oven and leave the cheesecake inside for about an hour to cool gradually.
-
After cooling, it’s time for the fun part! Top your cheesecake with a generous sprinkle of mini marshmallows and the extra Rice Krispies you set aside for that delightful crunch. Finish with a drizzle of melted chocolate, creating a tempting visual.
-
To ensure the best flavor and texture, refrigerate your masterpiece for at least 4 hours, but preferably overnight, to let the flavors develop and the cheesecake to set completely.
Serving Suggestions & Occasions
This enchanting Rice Krispie Treat Cheesecake is perfect for any occasion! Consider serving it at birthday parties, family gatherings, or holiday festivities. Pair it with a scoop of vanilla ice cream or fresh berries for an added touch. Its charming look and delightful taste make it a great dessert to impress guests at potlucks or casual get-togethers.
Common Mistakes for Rice Krispie Treat Cheesecake
Crafting the perfect Rice Krispie Treat Cheesecake can present a few challenges. Avoid these common pitfalls:
- Overbaking: Keep an eye on the time while baking; an overbaked cheesecake will become dry. Remember, a slight jiggle in the center is ideal.
- Under-Softened Cream Cheese: Failing to soften your cream cheese may lead to a lumpy batter. Give it ample time to reach room temperature.
- Skipping Cooling Steps: Don’t rush to cool the cheesecake in the fridge right after baking. Cooling it in the oven helps create a faultless texture.
Healthier Alternatives & Variations
While Rice Krispie Treat Cheesecake is a treat in its own right, there are ways to lighten it up:
- Reduced-Fat Cream Cheese: Substitute regular cream cheese for a reduced-fat version to cut down on calories.
- Honey or Agave: Replace granulated sugar with honey or agave syrup for a different sweetness profile.
- Nut Crust: Consider using finely chopped nuts mixed with the Rice Krispies for a gluten-free crust option.
Feel free to get creative! Add flavors such as chocolate, pumpkin spice, or peanut butter for variations that excite your taste buds.
FAQs
-
Can I use flavored cream cheese?
Yes! Using flavored cream cheese can add a delightful twist to your cheesecake. -
How do I store leftovers?
Store any leftover cheesecake in an airtight container in the refrigerator for up to a week. -
Can I freeze this cheesecake?
Yes! Wrap it tightly in plastic wrap and foil, and you can store it in the freezer for up to three months. -
Is there a need to grease the pan?
Yes, greasing the pan is crucial to ensure easy removal of the cheesecake after cooling. -
What’s the best way to cut the cheesecake?
Use a sharp knife and dip it in hot water before cutting to achieve clean edges. -
Can I add fresh fruit on top?
Absolutely! Fresh fruit pairs wonderfully with this cheesecake and adds a vibrant color contrast.
Conclusion
After exploring the delightful world of Rice Krispie Treat Cheesecake, it’s time to roll up your sleeves and create this delicious dessert that will surely impress. Easy to make and full of comforting flavors, this cheesecake is not just a sweet treat; it’s an experience waiting to be savored. So why wait? Gather your ingredients and start your journey to dessert perfection today!
Rice Krispie Treat Cheesecake
Ingredients
For the crust
- 3 cups Rice Krispies cereal Crunchy and light, providing the perfect base.
- 1/4 cup unsalted butter Rich and buttery, melting to create a delectable crust.
- 1/3 cup marshmallow fluff Sweet and sticky to enhance that classic Rice Krispie flavor.
For the cheesecake filling
- 16 oz cream cheese, softened Smooth and creamy for a luscious cheesecake filling.
- 1/2 cup granulated sugar Sweetening the cheesecake to perfection.
- 1 teaspoon vanilla extract Aromatic and warm, adding depth to the flavor.
- 2 large eggs Binding the ingredients for that perfect texture.
- 1/2 cup sour cream Adding tanginess and richness to the cheesecake.
For decoration
- 1 cup mini marshmallows Soft and chewy, providing bursts of sweetness.
- 1/2 cup Rice Krispies cereal Used for topping to add texture.
- 1/4 cup melted chocolate Rich and indulgent, used for drizzling.
Instructions
Preparation
- In a medium saucepan over low heat, melt the unsalted butter. Stir in the marshmallow fluff until smooth and glossy. Remove from heat and gently mix in the Rice Krispies until fully coated.
- Press this mixture firmly into the bottom of a greased 9-inch springform pan, creating an even crust. Allow it to cool slightly while you prepare the filling.
Making the filling
- In a large mixing bowl, beat the softened cream cheese until creamy and smooth. Gradually add the granulated sugar and vanilla extract, continuing to beat until well combined.
- Add the eggs one at a time, mixing thoroughly after each addition. Fold in the sour cream gently to maintain light fluffiness.
Baking
- Pour the cheesecake filling over the prepared Rice Krispie crust, spreading it evenly. Preheat your oven to 325°F (165°C).
- Once heated, place your springform pan in the oven and bake for 45-50 minutes. The cheesecake should be set around the edges but still slightly jiggly in the center.
- Turn off the oven and leave the cheesecake inside for about an hour to cool gradually.
Finishing touches
- Top your cheesecake with mini marshmallows and the extra Rice Krispies. Drizzle with melted chocolate.
- Refrigerate for at least 4 hours, preferably overnight, to let the flavors develop and the cheesecake to set completely.