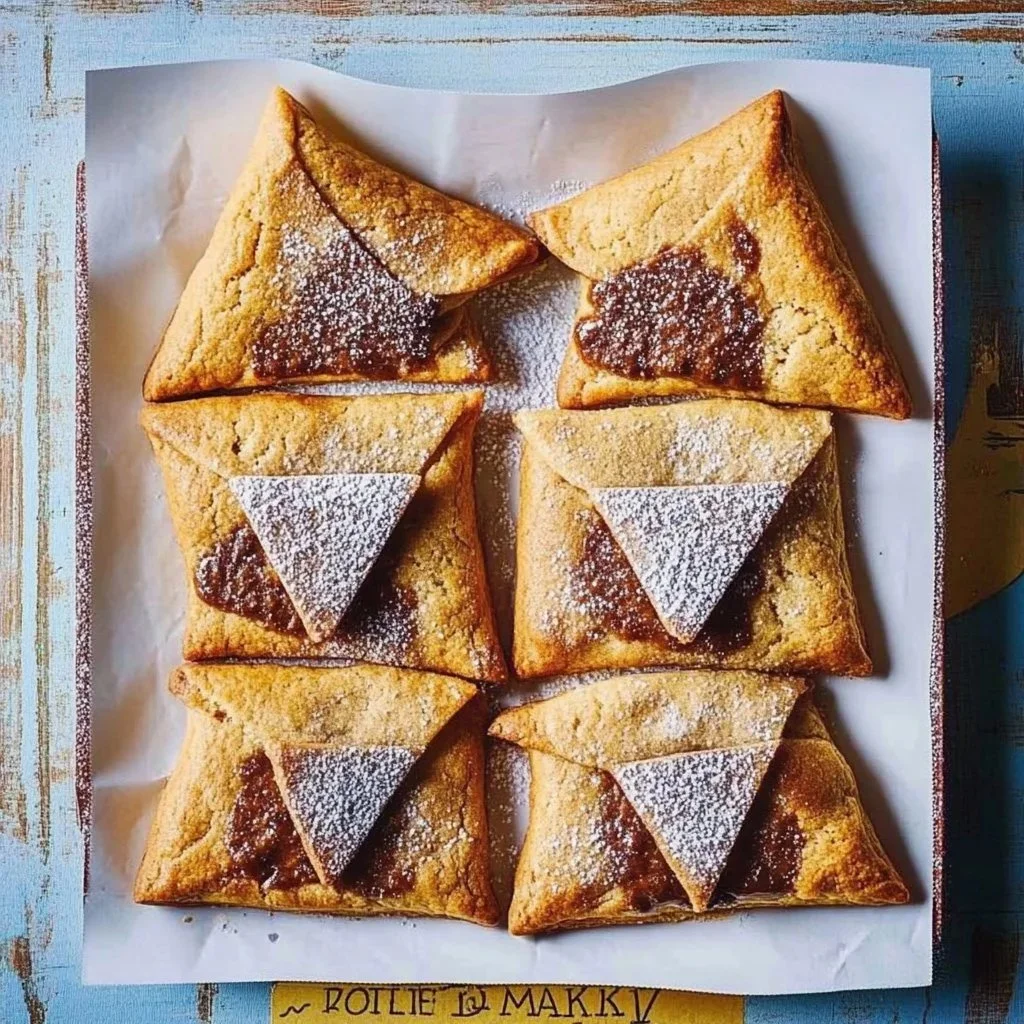
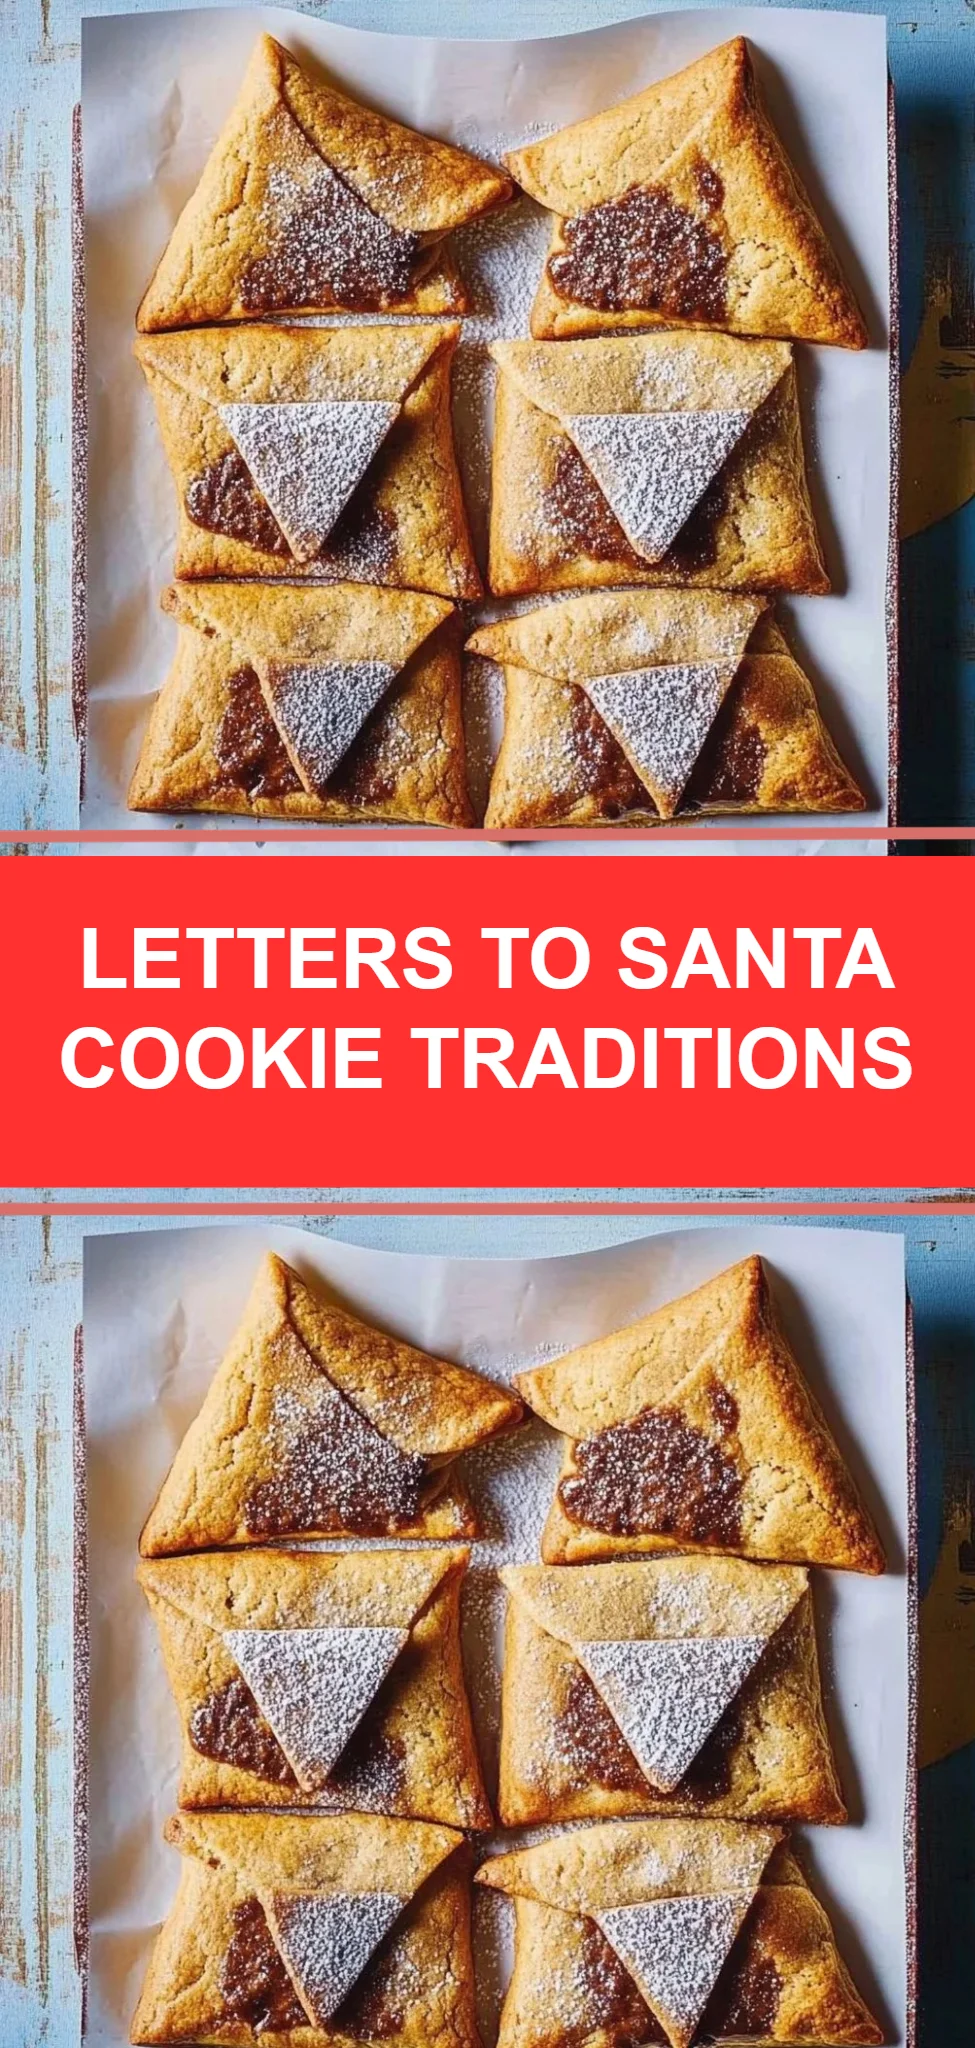
Letters To Santa Cookies are the quintessential holiday treat, designed to spark joy and nostalgia for both young and old. These delightful cookies are perfect for baking with family, filling your home with the sweet aroma of cinnamon and warm chocolate. They are easy to make and fun to decorate, making them a favorite for seasonal festivities and a wonderful gift for family and friends. With a flaky pie crust and a rich Nutella center, these cookies deliver an irresistible combination of textures and flavors that are sure to leave everyone asking for more. This recipe will guide you step-by-step through the preparation, ensuring you create something truly magical for the holiday season.
Ingredients
To make Letters To Santa Cookies, you will require a handful of simple yet delightful ingredients which include:
- 2 Tbsp. granulated sugar, providing that much-needed sweetness.
- 3/4 tsp. ground cinnamon, infusing your cookies with a warm, aromatic spice.
- All-purpose flour for dusting, ensuring your dough doesn’t stick.
- 1 (14-oz.) refrigerated pie dough, soft and pliable, ready for rolling.
- 1/2 cup white chocolate chips, melted until creamy and smooth.
- 1/2 cup Nutella, rich and velvety, ready to fulfill the chocolate cravings.
- 12 silver sugar pearls, sparkling and sweet, perfect as decorative toppings.
- 1 large egg for the egg wash, adding a glossy finish to your cookies.
- Confectioners’ sugar for dusting, giving your cookies a snowy, festive touch.
Cooking Time & Tips For Letters To Santa Cookies
When it comes to making Letters To Santa Cookies, there’s a notable difference between quick and slow preparation. Quick preparation means whipping up these lovelies when you’re short on time but want the sweet delight quickly. On the other hand, slow preparation allows for a more fun and thoughtful baking session, perfect for the holiday spirit. Whichever method you choose, here are some practical tips for success:
- Use chilled pie dough for better handling and flakiness.
- Ensure your work surface is well-dusted with flour to prevent sticking.
- Allow the cookies to chill after shaping them; this helps them hold their shape while baking.
- Don’t skip the egg wash! It’s key for that golden finish.
Step-by-Step Directions
-
Begin by whisking together 2 tablespoons of granulated sugar and 3/4 teaspoon of ground cinnamon in a small bowl. The scent is heavenly, setting the stage for your cookie creation.
-
On a lightly floured surface, roll out one pie dough until it forms an 11-inch round. The soft texture should spread with ease under your rolling pin, taking the shape you want.
-
Carefully cut this round into an 8-inch square, then divide it into four equal squares to maximize your dough. Repeat this process with the remaining dough, revealing a bounty of cookie squares.
-
Any scraps left over? Reroll them to form additional squares, aiming for a total of 12 pieces. Waste not, want not!
-
In a heatproof bowl, melt the white chocolate chips in the microwave in 20-second increments, stirring until creamy. The aroma of melted chocolate will begin to fill your kitchen.
-
Rotate the squares and brush the tops generously with your cinnamon-sugar mixture, enhancing their flavor. Next, place a teaspoon of Nutella right in the center of each square, lending a rich surprise.
-
Fold the right and left corners of the squares toward the center, then bring the bottom corner up, shaping them into an adorable envelope. It’s like wrapping a little present!
-
Take a moment to lightly press the cookies to seal them closed. Dab a little melted white chocolate on top of each one and press a silver sugar pearl into it for that festive flair.
-
Carefully transfer the cookies onto a parchment-lined baking sheet, and then refrigerate them for 30 minutes. This chilling step is crucial for maintaining their shape.
-
While the dough rests, preheat your oven to 375°F (190°C). Prepare an egg wash by whisking the egg with a splash of water, creating a glaze that gives shine.
-
Brush the cookies with the egg wash and pop them into the oven. Bake for about 15 to 20 minutes, keeping an eye out for that beautiful golden brown color.
-
Once baked, allow the cookies to cool for 10 minutes on the baking sheet before transferring them to a wire rack. When fully cooled, dust them lightly with confectioners’ sugar, transforming them into a delightful holiday confection.
Serving Suggestions & Occasions
These Letters To Santa Cookies make an enchanting addition to any holiday gathering. Serve them at family parties, school baking events, or even as a cozy treat for a quiet night at home. They make delightful gifts, beautifully packaged and tied with a bow, ready to spread joy. Pair them with a glass of cold milk or a warm cup of cocoa for the ultimate festive experience. Children will particularly love them, making them an ideal treat for Santa on Christmas Eve!
Common Mistakes For Letters To Santa Cookies
To achieve the best possible outcome, be conscious of these common mistakes that people often make:
- Not chilling the dough: This step is essential to keep your cookies from spreading too much in the oven.
- Overbaking: Watch your cookies closely; overbaking will lead to dryness rather than the desirable tenderness.
- Skipping the egg wash: It enhances color and appearance, making your cookies visually appealing.
Healthier Alternatives & Variations
While Letters To Santa Cookies are a delicious indulgence, consider these healthier alternatives and variations to cater to different dietary needs:
- Substitute whole wheat flour for all-purpose flour for a nuttier taste and additional fiber.
- Use dark chocolate chips instead of white for a rich, antioxidant-filled option.
- Consider replacing Nutella with almond butter or sunflower seed butter for a nut-free or healthier twist.
FAQs
-
Can I freeze the cookies?
Yes, you can freeze the shaped cookies before baking. Just ensure they are well-wrapped to prevent freezer burn. -
How long do these cookies stay fresh?
Stored in an airtight container, they can last up to a week at room temperature. -
Can I make them gluten-free?
Absolutely! Use a gluten-free flour blend in place of regular flour for a gluten-free version. -
What can I use instead of Nutella?
Try any chocolate spread or even fruit preserves for a fruity-filled cookie. -
Are these cookies suitable for kids?
Yes! They are kid-friendly and make for a fun family baking activity. -
Can I decorate these cookies differently?
Definitely! Feel free to get creative with decorations, using sprinkles or edible glitter.
Conclusion
Letters To Santa Cookies are the perfect way to bring a little magic into your holiday season. With their delightful flavors and charming aesthetic, they’re a treat that will not only please the palate but also warm the heart. This recipe offers a wonderful balance of ease and creativity, making it ideal for bakers of all skill levels. So why wait? Gather your family and friends, roll up your sleeves, and make these enchanting cookies that are sure to become a cherished tradition in your home. Happy baking!