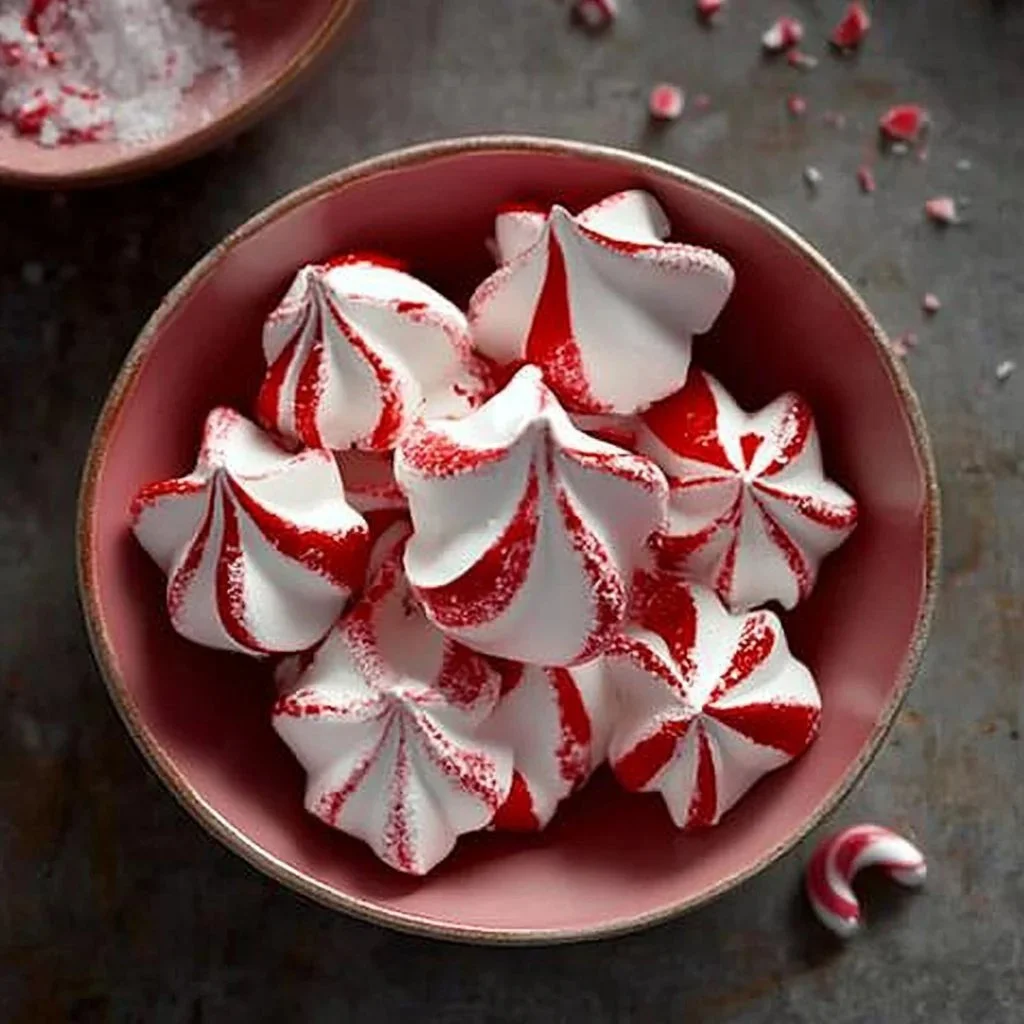
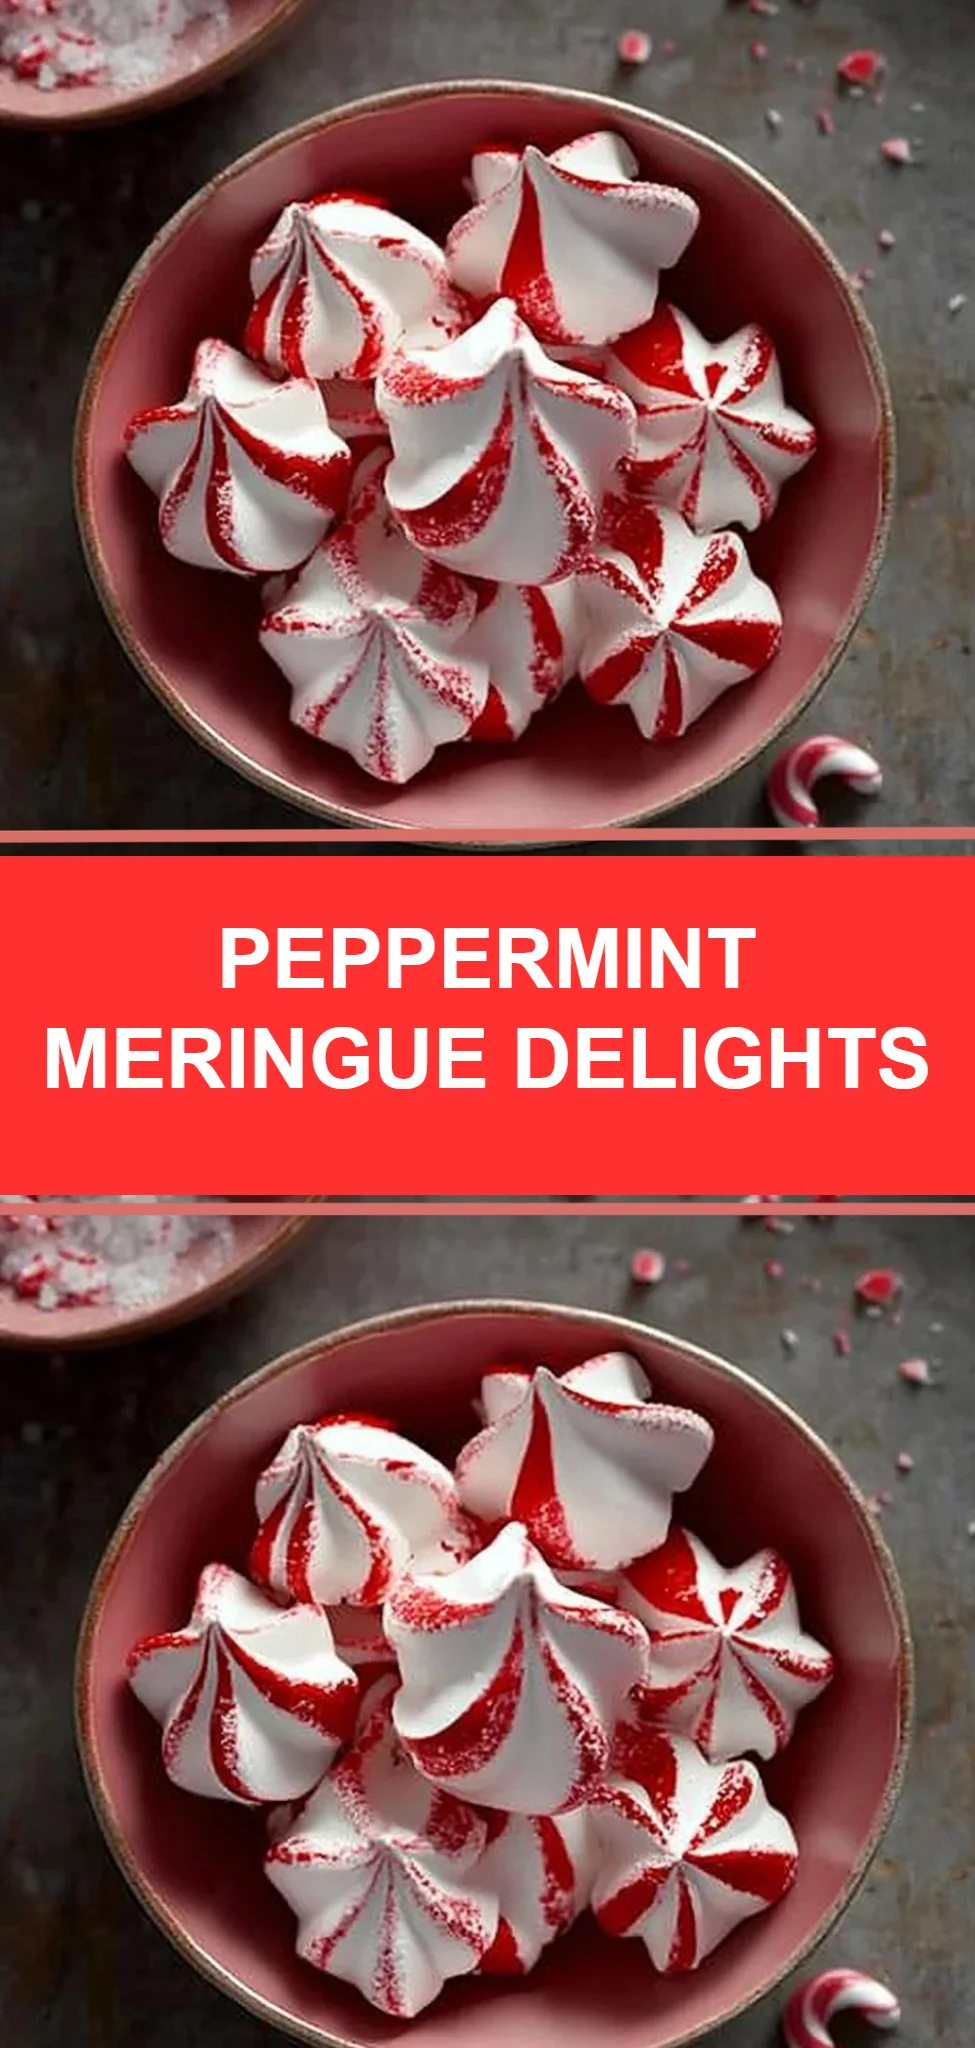
Peppermint Meringue Recipe is a delightful treat that combines light, airy textures with a sweet, refreshing flavor. The moment these pastel-hued confections come out of the oven, they fill your kitchen with a warm, inviting aroma reminiscent of festive gatherings and holiday cheer. Making peppermint meringues is not just a baking endeavor; it’s a step-by-step journey into creating something that’s not only visually appealing but also bursting with nostalgia. Perfect for holidays, gatherings, or simply as a sweet treat to enjoy with a cup of tea, these meringues bring joy to every bite.
Ingredients
To create the blissful Peppermint Meringue, you will need:
- 4 large egg whites – These fluffy whites will form the base of your meringues, creating a tender texture.
- 1/4 teaspoon cream of tartar – This ensures your meringues hold their shape and whip up perfectly.
- 1/4 teaspoon kosher salt – A pinch to balance the sweetness.
- 1 cup (200 g) granulated sugar – Sweet and crystalline, this is vital for achieving that glossy finish.
- 1/2 teaspoon peppermint extract – A burst of refreshing mint flavor that complements the meringue’s sweetness.
- Red gel food coloring – For a stunning marbled effect that enhances visual appeal.
- 1 cup (155 g) semi-sweet chocolate chips – Rich and decadent, these will coat the meringues for added indulgence.
- 5 small peppermint canes or candies (70 g) – Crushed into pieces, they add a crunchy texture and extra flavor.
Cooking Time & Tips For Peppermint Meringue
Creating Peppermint Meringue can vary in time based on your approach. Quick preparation involves efficiently whisking and piping the meringue mixture, while slow preparation focuses on meticulous details for perfection.
For a successful baking experience, here are some practical tips:
- Ensure your mixing bowl and whisk are completely clean and dry, as any oil or moisture can hinder the meringue’s ability to whip.
- Add sugar gradually to achieve a perfectly smooth and glossy meringue.
- Let the meringues cool slowly in the oven to prevent cracking, allowing their delicate structure to stabilize.
Step-by-Step Directions
- Preheat your oven to 200 degrees F and line two sheet pans with parchment paper, setting the stage for your meringues to bake perfectly.
- In a stand mixer bowl, combine the egg whites, cream of tartar, and salt. Beat on medium speed until soft peaks form, taking about 1 minute.
- Gradually add sugar, one tablespoon at a time, while increasing the mixer speed to high. Continue to whip until the mixture thickens and holds firm peaks, which should take around 4 to 6 minutes.
- Add the peppermint extract to the mixture and whip well, infusing that festive flavor throughout.
- Prepare a piping bag with a large tip and paint red food coloring inside to create beautiful marbled patterns on the meringues.
- Fill the piping bag with the meringue and pipe 2-inch cookies onto the lined baking sheets, creating little mounds of sweetness.
- Bake for 1.5 to 2 hours, checking frequently, until the meringues are crisp and dry.
- Allow the meringues to cool in the oven for another 2 hours, letting the residual heat work its magic.
- Crush the peppermint candies using a food processor until they resemble a coarse powder.
- Melt the semi-sweet chocolate chips in a microwave-safe bowl, stirring until smooth and creamy.
- Dip cooled meringues into the melted chocolate, sprinkle with the crushed peppermint, and place them aside until the chocolate hardens in the fridge.
Serving Suggestions & Occasions
Peppermint Meringues shine brightly during festive seasons, making them ideal for winter holidays or a charming addition to dessert tables at special events. They can be elegantly arranged on a platter alongside rich desserts or served in charming gift bags for a thoughtful homemade treat. Pair them with a warm cup of hot chocolate or coffee to enhance their delightful flavor.
Common Mistakes For Peppermint Meringue
When crafting Peppermint Meringue, keep these common pitfalls in mind to ensure delightful results:
- Undermixing or overmixing the egg whites can lead to inconsistent textures. Aim for glossy peaks that hold firm.
- Not allowing the meringues to cool in the oven can cause them to crack. Patience is key!
- Using cold egg whites can result in less airy meringues. For best results, bring your eggs to room temperature before whipping.
Healthier Alternatives & Variations
For a healthier twist on Peppermint Meringues, consider these variations:
- Substitute granulated sugar with coconut sugar for a slightly lower glycemic index sweetener.
- Explore other flavors like vanilla or almond extract instead of peppermint for a different taste experience.
- Consider using dark chocolate instead of semi-sweet to elevate the antioxidant profile of your treats.
FAQs
-
Can I use egg substitutes for this recipe?
Egg substitutes do not provide the same structure and volume as egg whites, so it’s not recommended for meringues. -
What can I do with leftover egg yolks?
Use them in custards, puddings, or enrich sauces like hollandaise to prevent waste. -
How do I store leftover meringues?
Keep them in an airtight container at room temperature to maintain their crispness. -
Why did my meringues turn out sticky?
Sticky meringues indicate that they may have been undercooked or not dried completely. Ensure they are baked until crisp. -
How long do meringues last?
Properly stored, Peppermint Meringues can last up to a week at room temperature. -
Can I freeze meringues?
Yes, meringues can be frozen, but they are best enjoyed fresh for the best texture.
Conclusion
With its refreshing flavor and delicate texture, Peppermint Meringue Recipe is a treat you won’t want to miss. Join the many bakers who have found joy in whipping up these delightful confections. Their lightness and elegant presentation make them a perfect addition to any festive occasion. So gather your ingredients and embark on this sweet adventure; you’ll be creating delicious memories and charming treats in no time!