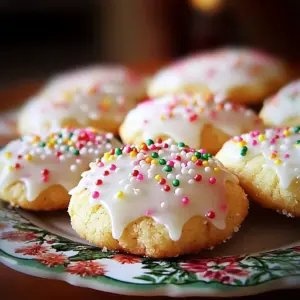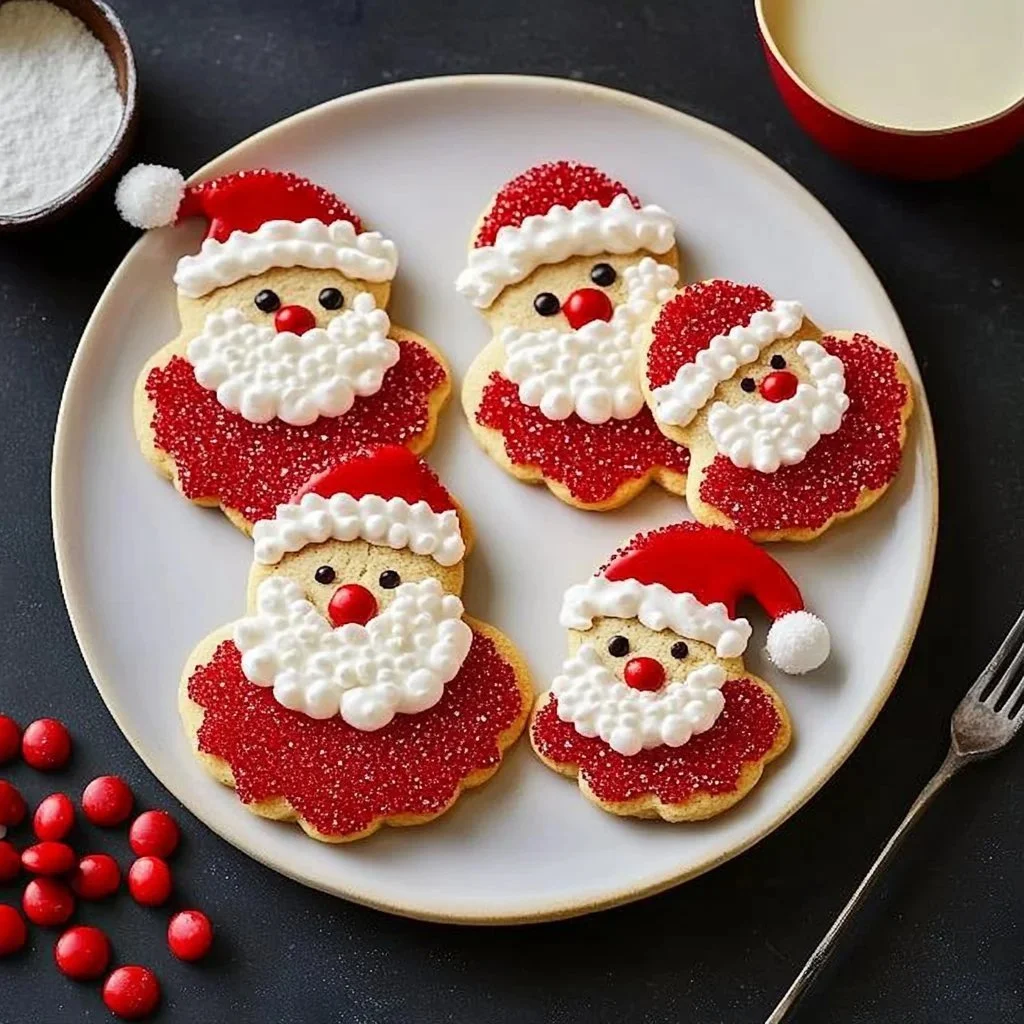
Santa Cookies are a delightful and festive treat that can instantly brighten your holiday season. These cookies are not only visually appealing but also packed with flavor that evokes warmth and nostalgia during the merry time of year. Perfect for family gatherings, holiday parties, or just a cozy evening baking with loved ones, this recipe is simple to follow and ensures everyone will enjoy these sweet little delights. In this step-by-step guide, you’ll learn how to make soft, buttery cookies that are perfectly adorned with vibrant frosting and festive decorations.
Ingredients
To create your batch of Santa Cookies, gather the following ingredients that will ensure your treats are both delightful and delicious:
- 3 cups (360 g) of all-purpose flour, plus more for rolling – this flour will provide the sturdy yet tender base for your cookies.
- 1 tsp baking powder – this small addition will help your cookies rise perfectly, creating a delightful texture.
- 1/2 tsp kosher salt – a touch of salt enhances the sweetness, balancing the flavors beautifully.
- 1 cup (2 sticks) unsalted butter, softened – the creamy and rich foundation for both the cookies and frosting.
- 1 cup (200 g) granulated sugar – this will add sweetness and contribute to that irresistible crunch.
- 1 large egg – binding everything together while adding moisture.
- 1 Tbsp whole milk – adding richness to the dough.
- 1 tsp pure vanilla extract – this aromatic flavor will elevate your cookies to new heights.
- For frosting: 1 cup (2 sticks) unsalted butter, softened; 5 cups (570 g) powdered sugar; 1/4 cup whole milk; 1/2 tsp pure vanilla extract; and 1/4 tsp kosher salt.
- Red food coloring – to create the festive red for Santa’s hat.
- Red sanding sugar – for a sparkling finish.
- Red and brown mini M&Ms for decorating – these add a fun and colorful touch to your cookies.
Cooking Time & Tips For Santa Cookies
The preparation of Santa Cookies can be quick or slow, depending on your pace and the time you wish to invest. A quicker approach can be achieved by cooling the dough rapidly and baking immediately. However, allowing the dough to rest overnight enhances the flavor and texture even more, resulting in an irresistible cookie.
For success, make sure your butter is at room temperature before mixing as this creates a fluffy base. Also, remember to chill the dough before baking; this step helps your cookies maintain their shape while baking. To ensure even baking, rotate your baking sheets halfway through the process.
Step-by-Step Directions
-
In a large bowl, whisk together the flour, baking powder, and salt. This ensures an even distribution of the leavening agent and salt throughout the flour.
-
In another bowl, beat the softened butter and granulated sugar together until fluffy. This process typically takes about 2-3 minutes and incorporates air into the mix, creating a light texture.
-
Add in the egg, milk, and vanilla extract, mixing until well combined. Each addition should be fully incorporated before moving on to the next.
-
Gradually blend the dry ingredients into the wet mixture until just combined. Be careful not to overmix, as this can lead to tougher cookies.
-
Divide the dough in half and roll it out between sheets of parchment paper; refrigerate for 30 minutes. This step is crucial for making the dough easier to work with.
-
Preheat your oven to 350°F (175°C) and prepare your baking sheets with parchment paper to prevent sticking.
-
Cut out Santa-shaped cookies with a cookie cutter and place them in the freezer for 5 minutes. This gentle chilling helps the cookies hold their shape while baking.
-
Bake the cookies until the edges are golden (about 8-10 minutes) and let them cool completely on a wire rack. It’s vital to not rush this process – cooling is key!
-
For the frosting, beat the softened butter until creamy in texture. This will be the base of your delicious frosting.
-
Gradually add the powdered sugar until it becomes smooth, creating a sweet and creamy topping.
-
Add the milk, vanilla, and salt, mixing to create a velvety buttercream frosting.
-
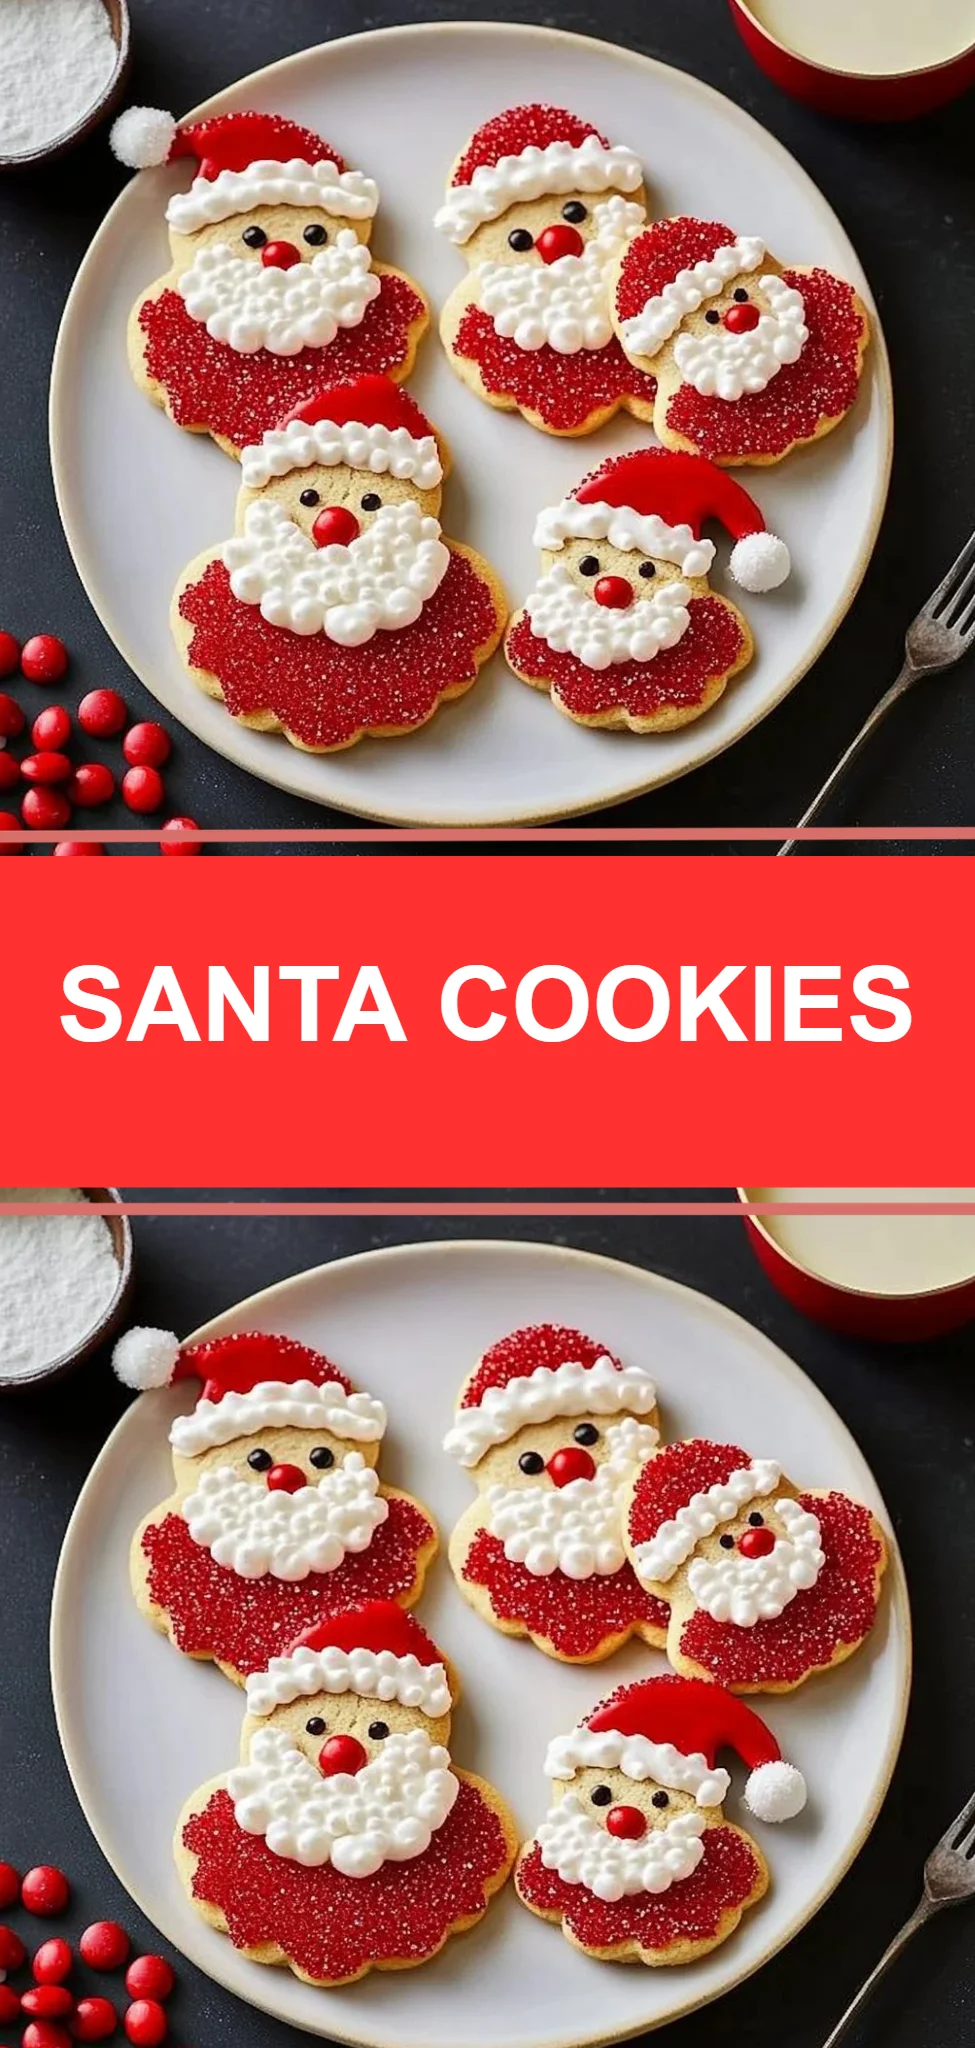
Pipe red frosting on top of the cookies for Santa’s hat and dip them in red sanding sugar for a festive touch.
-
Use white frosting for Santa’s beard and decorative mini M&Ms to complete the look, bringing your Santa Cookies to life.
Serving Suggestions & Occasions
Santa Cookies are versatile in serving and can be showcased on holiday dessert tables, sent as gifts, or shared at office parties. They can be enjoyed with a glass of milk, hot chocolate, or even a cozy cup of tea. They also make a perfect treat for cookie decorating parties with kids, adding an extra layer of fun and creativity to your holiday festivities.
Common Mistakes For Santa Cookies
When making Santa Cookies, it’s easy to make a few common mistakes. One of the most frequent issues is not measuring the flour accurately, leading to overly dry or crumbly dough. Always spoon the flour into the measuring cup and level it off. Another mistake is neglecting the chilling step – skipping this can result in cookies that spread too much during baking. If your butter is too soft or melted when mixed, this can also lead to a flatter cookie.
Healthier Alternatives & Variations
For those looking for healthier alternatives, consider substituting half of the all-purpose flour with whole wheat flour. You can also use coconut sugar instead of granulated sugar for a lower glycemic index option. For a dairy-free version, replace the butter with coconut oil and use almond milk in the frosting. If you want to get creative, try adding festive spices like cinnamon or nutmeg into the dough for a warm flavor that delights.
FAQs
-
Can I freeze the Santa Cookie dough?
Yes! The dough can be frozen for up to 3 months. Just thaw it in the refrigerator before rolling and baking. -
What can I use instead of a cookie cutter?
You can use any shape you prefer! Just make sure to adjust the baking time based on the size. -
How do I store my Santa Cookies?
Store them in an airtight container at room temperature for up to one week, or refrigerate for longer freshness. -
Can I make the frosting ahead of time?
Yes, the frosting can be prepared a few days in advance and stored in the refrigerator. Just give it a quick mix before using. -
Why are my cookies spreading too much?
Too much melted butter, warm dough, or not chilling the dough can lead to spreading cookies. Always ensure proper chilling before baking. -
Can I add different decorations?
Absolutely! You can use edible glitter, different colored icing, or seasonal sprinkles to customize your cookies.
Conclusion
Santa Cookies are a delightful way to bring a sense of joy and tradition to your kitchen this holiday season. With their charming appearance and delicious flavor, these cookies are sure to become a family favorite. Why not gather your loved ones and whip up a batch today? You won’t regret it; each bite is filled with holiday warmth and cheer.

Santa Cookies
Ingredients
For the Cookies
- 3 cups 3 cups of all-purpose flour, plus more for rolling Provides a sturdy yet tender base.
- 1 tsp 1 tsp baking powder Helps cookies rise perfectly.
- 1/2 tsp 1/2 tsp kosher salt Enhances sweetness and balances flavors.
- 1 cup 1 cup unsalted butter, softened Rich foundation for cookies and frosting.
- 1 cup 1 cup granulated sugar Adds sweetness and crunch.
- 1 large 1 large egg Binds ingredients and adds moisture.
- 1 Tbsp 1 Tbsp whole milk Adds richness to the dough.
- 1 tsp 1 tsp pure vanilla extract Enhances flavor.
- 1 cup 1 cup unsalted butter, softened (for frosting) Base for frosting.
- 5 cups 5 cups powdered sugar Makes a sweet frosting.
- 1/4 cup 1/4 cup whole milk (for frosting) Helps achieve desired texture.
- 1/2 tsp 1/2 tsp pure vanilla extract (for frosting) Adds flavor to frosting.
- 1/4 tsp 1/4 tsp kosher salt (for frosting) Balances sweetness in frosting.
- to taste Red food coloring For decorating.
- to taste Red sanding sugar For a sparkling finish.
- to taste Red and brown mini M&Ms For decorating.
Instructions
Preparation
- In a large bowl, whisk together the flour, baking powder, and salt.
- In another bowl, beat the softened butter and granulated sugar together until fluffy.
- Add in the egg, milk, and vanilla extract, mixing until well combined.
- Gradually blend the dry ingredients into the wet mixture until just combined.
- Divide the dough in half and roll it out between sheets of parchment paper; refrigerate for 30 minutes.
Baking
- Preheat your oven to 350°F (175°C) and prepare your baking sheets with parchment paper.
- Cut out Santa-shaped cookies and place them in the freezer for 5 minutes.
- Bake the cookies for about 8-10 minutes, until the edges are golden.
- Let them cool completely on a wire rack.
Frosting
- Beat the softened butter until creamy.
- Gradually add the powdered sugar until smooth.
- Add the milk, vanilla, and salt, mixing to create a velvety buttercream frosting.
- Pipe red frosting on top of the cookies and dip them in red sanding sugar.
- Use white frosting for Santa's beard and decorative mini M&Ms to complete the look.